Mattebox features just eight image adjustment tools, but by combining them, you can create an almost unlimited range of looks and filters extremely quickly.
Color Balance
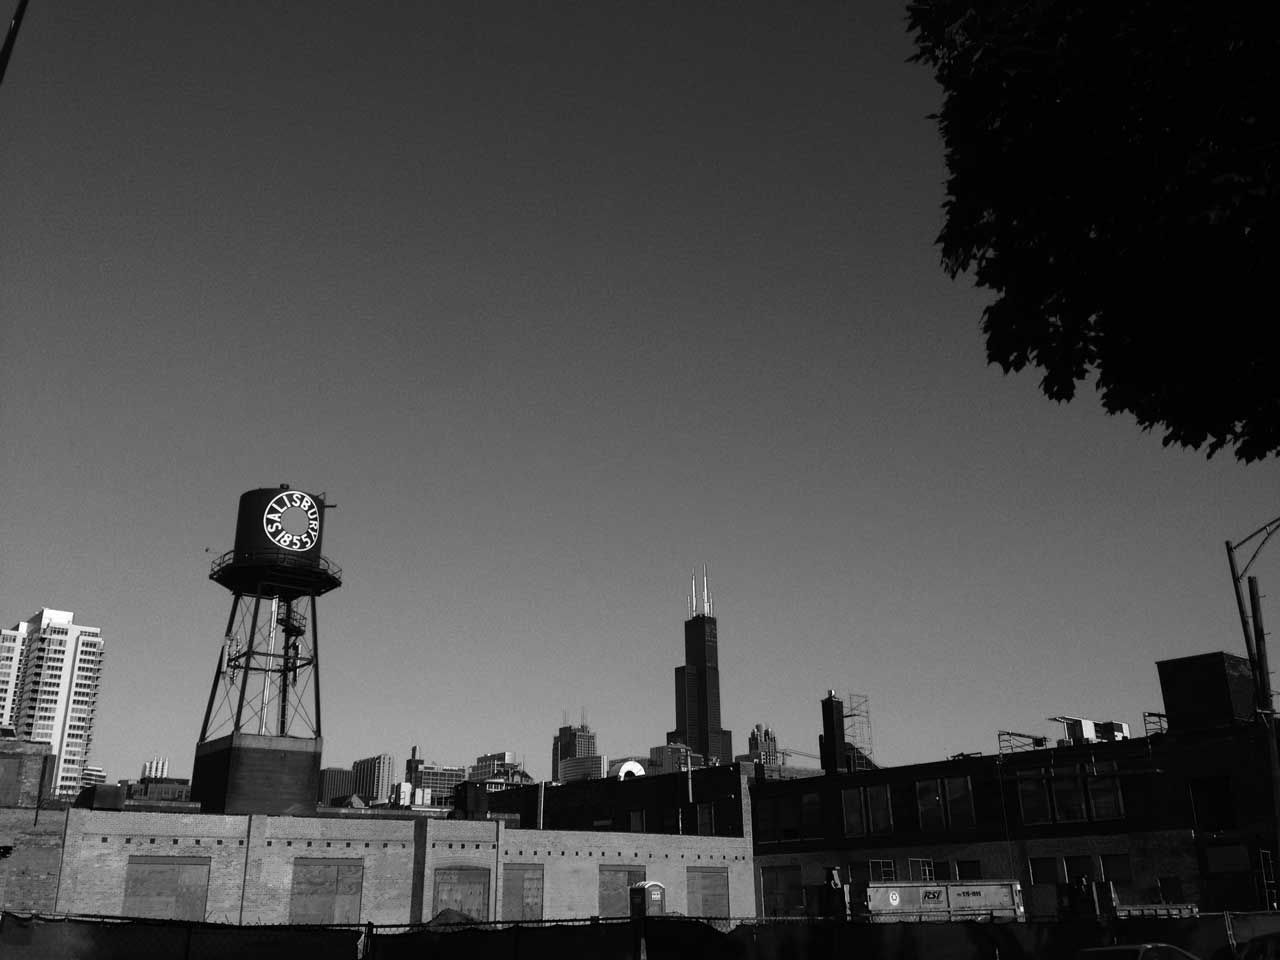
At first glance, Color Balance seems relatively straightforward. However, it’s designed to model the way a color filter works, so it has a huge impact on black & white conversion. This photo has been turned B&W with a blue color balance:
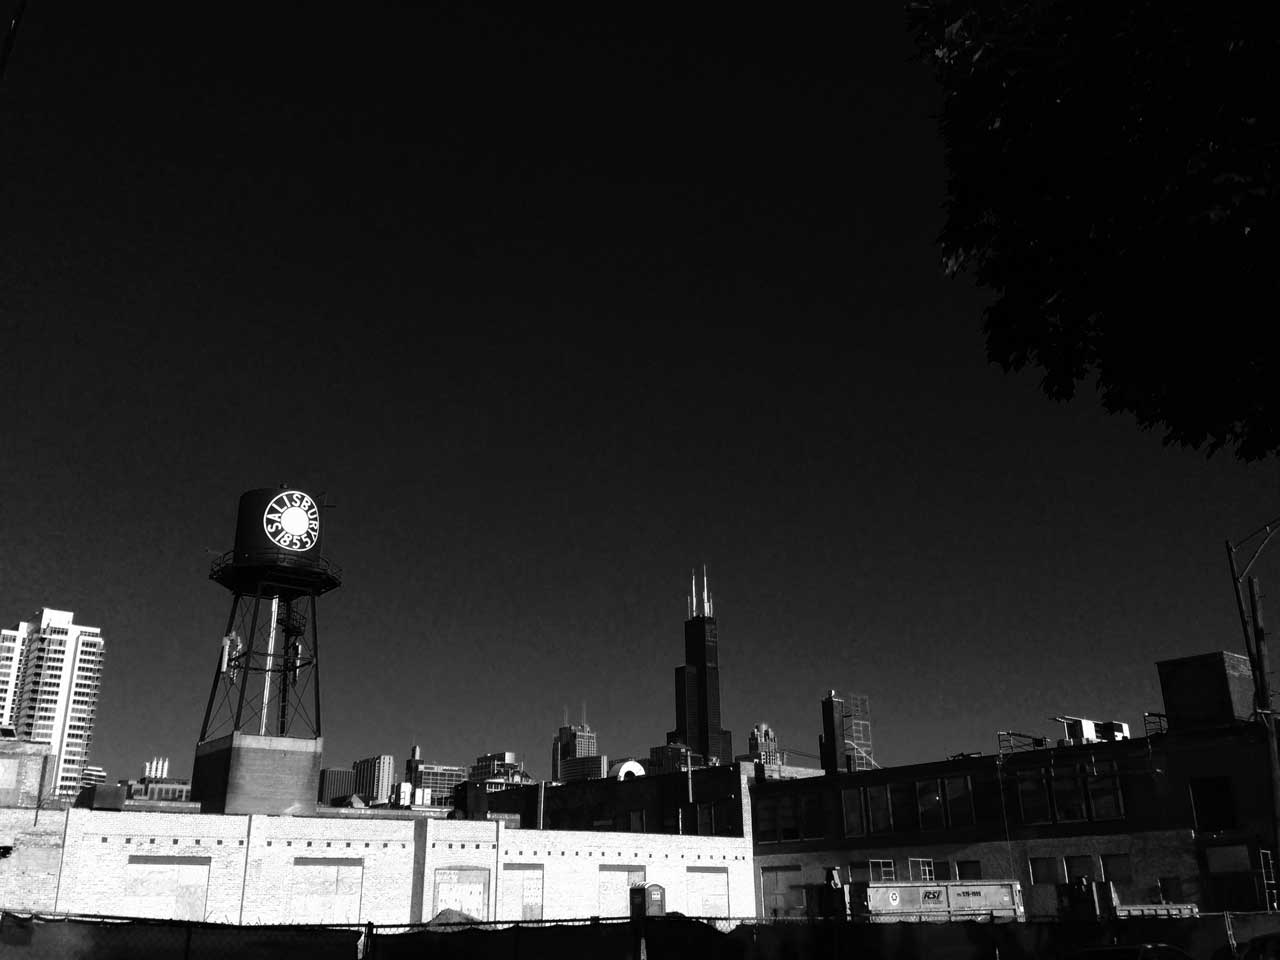
And here’s the same photo with a red color balance. The red filter darkens the sky dramatically:
Exposure
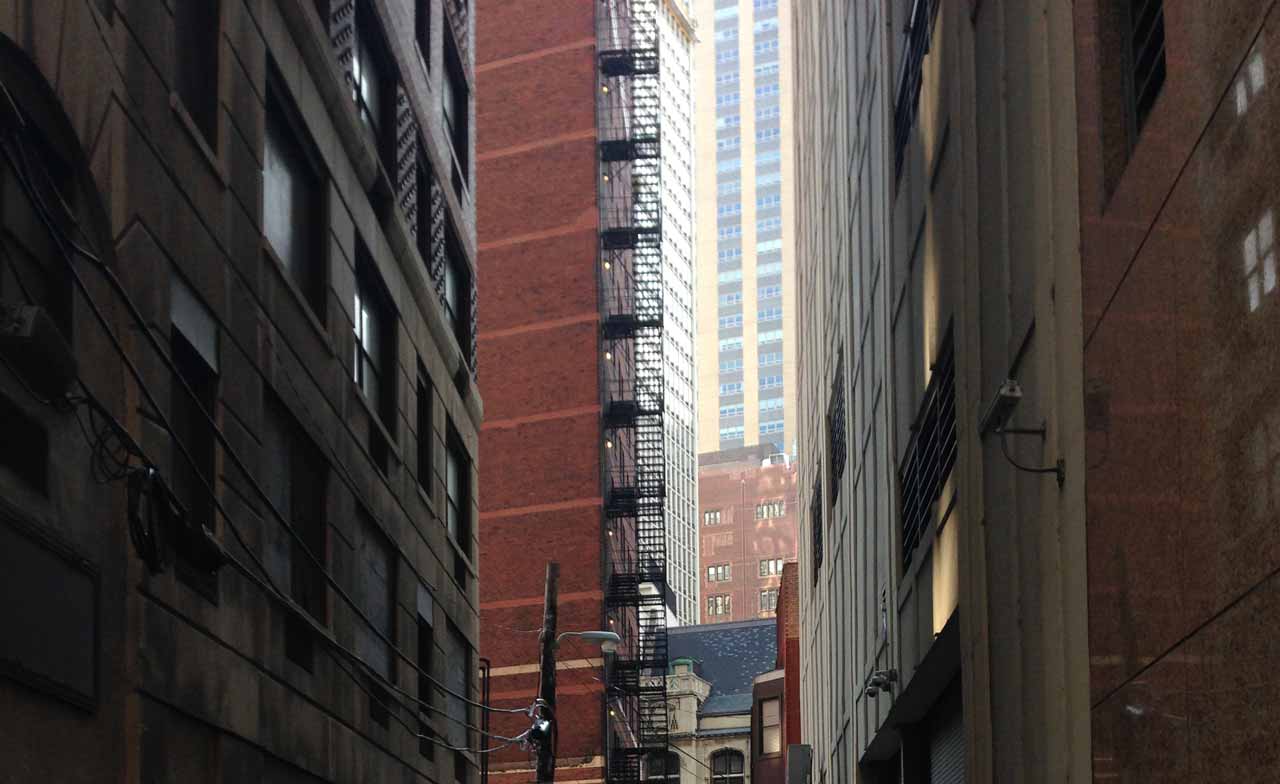
Exposure is also more powerful that it may seem. Exposure is designed to model the way the highlight “shoulder” on color negative film protects the brightest areas. Here’s a crop from a photo:
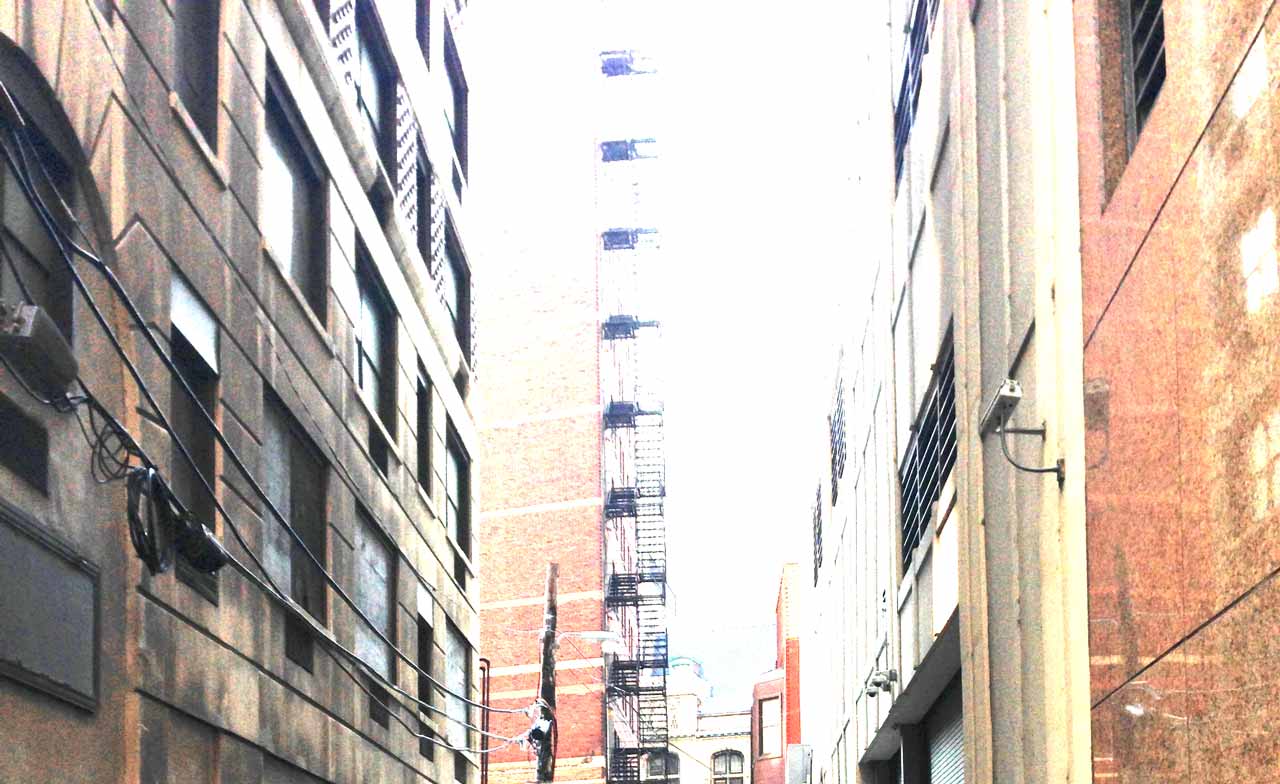
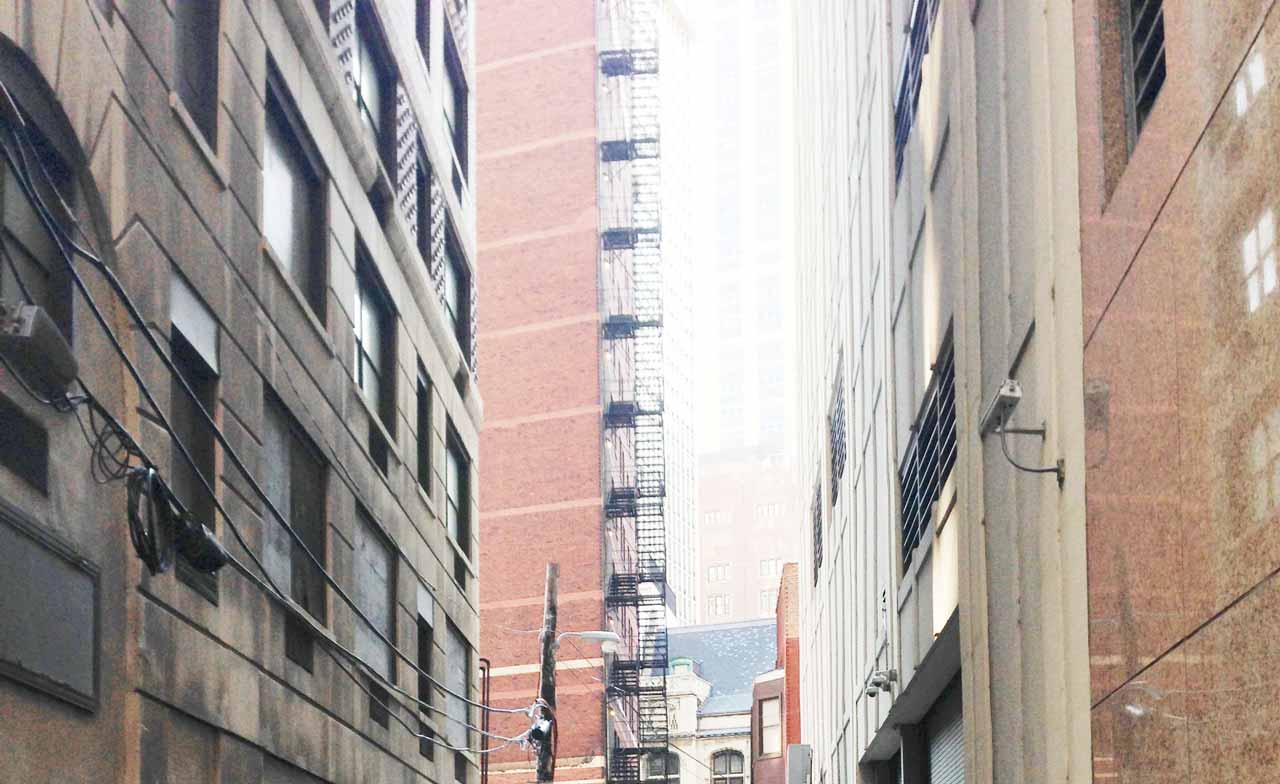
Many apps allow you to boost exposure, but they often clip your highlights. In this example, the buildings in the distance are blown out to pure white:
In contrast, Mattebox protects your highlights, no matter how far you push the exposure:
Saturation
As you decrease saturation, the Saturation adjustment gradually increases exposure as needed based on the Color Balance. For example, when the Color Balance is very blue, a normal black & white conversion would leave the photo quite dark. Mattebox is smart enough to compensate.
Brightness (Gamma)
The Brightness tool controls the gamma of the image, so it can be used to adjust both brightness and contrast. This becomes most apparent when you decrease Brightness while increasing Exposure—the result will be much higher contrast.
Vignette
Vignette is designed to accurately model real light falloff in a camera, so it happens early in the process. This means it’s heavily affected by the Color Balance, Exposure and Brightness adjustments. In addition, you can tint the color of the vignette to achieve a unique look or mimic certain lenses or films.
Curves
The Curves tool lets you completely alter the tonal range and color response of the image. Most often, it’s used to alter the contrast of the image or perform additional color correction. For more on this powerful tool, check out the Introduction to Curves.
Grain
Digital photos can sometimes appear too smooth and “plastic.” Like real film grain, Grain is applied at the lowest level, so virtually every other tool can affect its strength and appearance. Low contrast images will appear less grainy while higher contrast treatments will accentuate grain.
Crop
The Crop adjustment allows you to make simple crops from your original images, constrained to the most appealing aspect ratios.
Learn how simple and powerful Curves can be, in Introduction to Curves. Continue Next